|
|
|
|
|
|
|
|
|
|
|
|
|
Bird Costume Construction I enjoy "creating"
things out of my head. So, this time I also told all and sundry...well, at least the people on some of the computer sewing lists I am on... and they helped me to think up ideas. I really appreciate their encouragement.
(Please note: Most of these photos are thumbnails.) |
||||
|
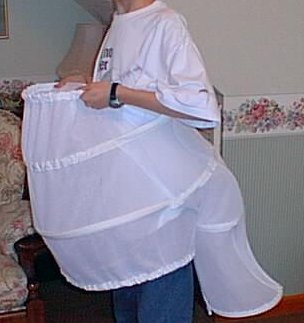
The Frame |
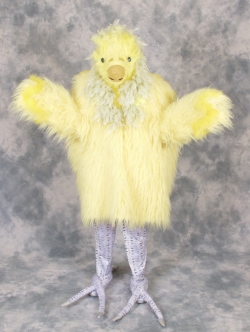
Here is what the "cage" first looked like with no straps. It has 12 metres of plastic boning!
|
Then I did all
sorts of combinations of things that made it stand out a bit. DO NOT ASK
ME WHAT! I can't really remember them all!
|
||
|
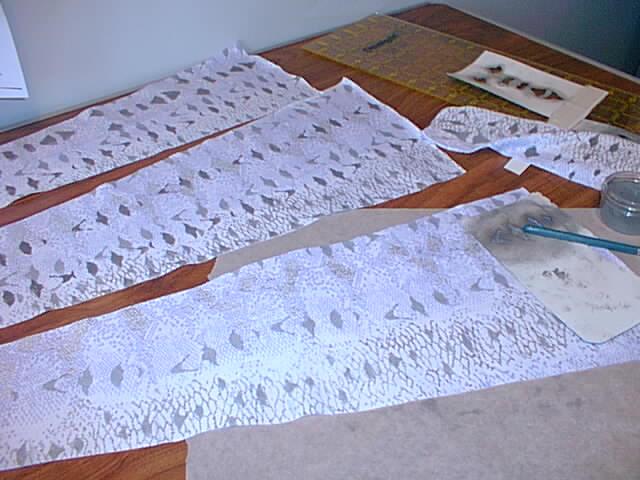
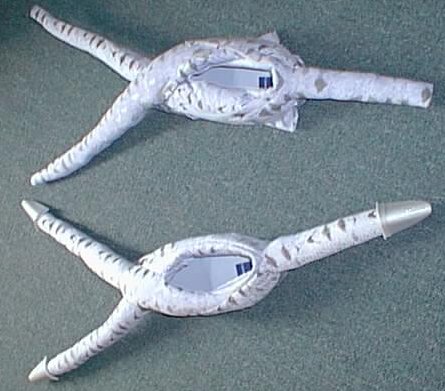
The Legs However, if you get the bright
idea I had, please learn from me. IT IS NOT A SAVINGS TO BUY CHEAP LYCRA
AND STENCIL IT!!! £12.99 a metre sounded a bit much, but believe me, I
spent much more time stenciling the £3.99 a metre stuff than I would like
to admit. Ha Ha! But it did turn out realistic.
I meander quilted the lycra to some batting, and
made them into tubes for the toes. After much chopping and fussing, I
fitted them to the shoes. It was rather awkward, as most "real"
birds have 3 toes in front, and 1 in back. The text description only said
3 toes. I also threaded a piece of electrical wire into
each toe, so I could make it hold the shape I wanted. |
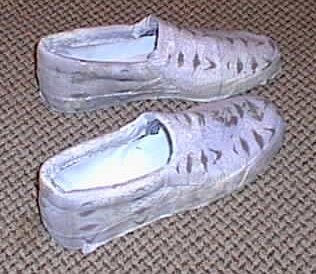
The Feet I was warned by my friend, Bill, that kids are likely to stomp on the feet of costumed characters...even adults will pluck feathers or whatever off! (I can only presume they don't think of it as a costume, but as "real" and that things grow back!!) I decided these feet better be stomp proof. I also decided I would get away from the dry cleaning worry by putting a "Clean with a damp sponge" label on them!! So, to make the feet, I bought inexpensive plimsoles, size 10 to fit
whoever would wear them. I covered them in the lycra by using some permanent
spray glue and mostly sewing.
Here is what I came up with. |
|||

|
|
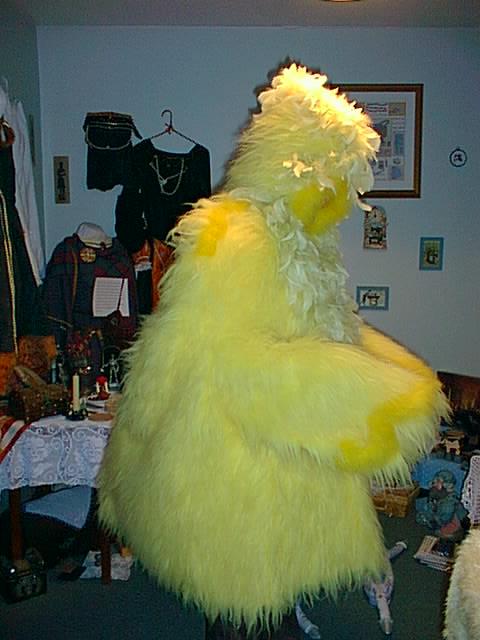
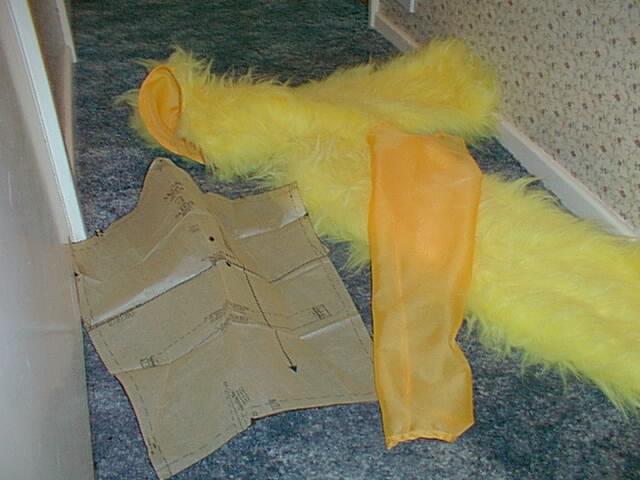
The Body
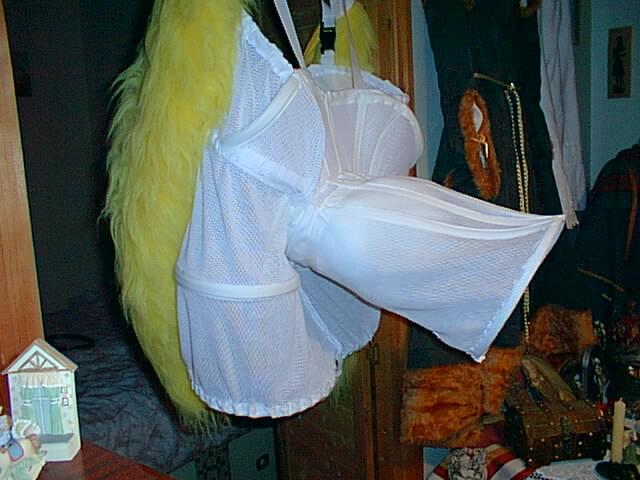
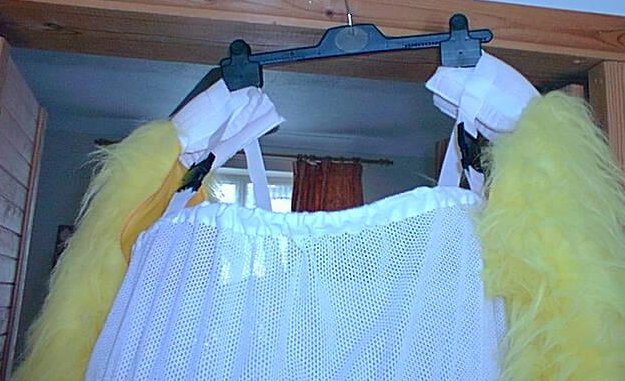
I used my pattern drafting software to create a hooded cape from yellow luxury fake fur. I then lined it with dark yellow voile. This helped to make it slip around more, and reduced the irritation the fake fur backing caused. I also took a sleeve piece from a pattern I had, and cut and lined sleeves to be the wings. I actually used the shoulder part of the pattern, and then cut wider for the bottom. I attached the sleeves to shoulder pads and then to the shoulder straps of the frame. I used strips of Velcro so that it could be adjusted. |
I chopped up a lime green boa, and sewed bits of it around the hood of the cape, and in places over the chest. I also used bunches of yellow turkey flats feathers and pieces of yellow turkey marabou to highlight the hood opening, the shoulders and the wingtips. Okay, no major problems...only feathers and fluff EVERYWHERE! The girl who tried this on for me so I could check it out had to take antihistamines before she came over!!
|
|
|
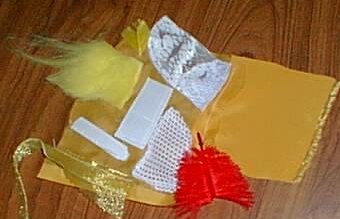
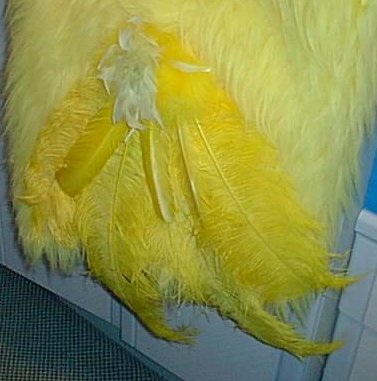
The Tail I really wanted to have ostrich feathers on the tail, but didn't want them dissolving in the dry cleaning process! So, I built the tail onto a piece of plastic canvas in order to make it removable. I covered the canvas with I sewed down the ostrich feathers, then turkey plumes on top, and then a circle of the turkey marabou. I later added bits of the lime green feathers that littered my house (literally!) to the centre of the marabou circle. |
|

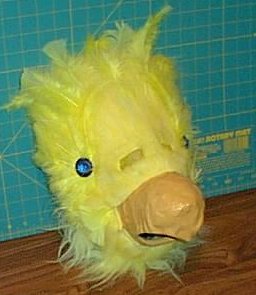
The "friendly" blue eye (a heart
shaped plastic jewel) is built onto a semicircle piece of plastic
canvas mesh covered with the sparkly fabric from the swatch. Although
I wanted to use sparkly fabric in the bird, HE didn't wanted it AT ALL.
But, I got away with this hidden bit! The beak was to be hooked, so it was easier to do it by
having a hole underneath. This helps to give you more air
(believe me, this is hot! You need air!), but also
gives you a place to look down and see where your feet are going. |
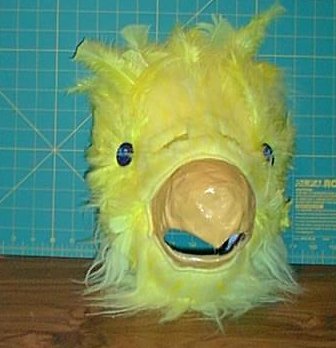
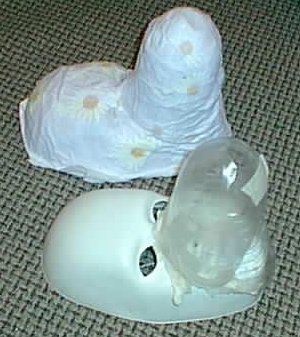
The Face (last but not least!) The facemask was another challenge! But, I had a section
in one of my costume books that told you how to build one with muslin and
glue. I bought a white man's face mask from a local dance shop. I wondered
what to do for the beak...so I wondered down to the kitchen, and saw an
empty fizzy drinks bottle! I chopped it up a bit, and masking taped it to
the mask. Then I covered it all with Vaseline. Then I built up layers of
muslin with PVA glue. This is very like paper mache' but the muslin
doesn't come apart in your hands. (okay, this is the
secret...I used some white muslin with large daisies on it from
curtains that someone had given me! So, the inside is special, too!) It took me a while to paint the beak, as the first coat showed every join of the muslin. I then put a layer of the voile over it, which was better, but the acrylic paint crackled. I did another coat or two, and then I used a few coats of acrylic glaze. In the end, all this was worth it, as it is quite hard, like a beak, and shouldn't get bashed in unintentionally. |
 A friend of the family does photography, so he
did a professional shoot. My other friend's daughter modeled the costume
for me.
A friend of the family does photography, so he
did a professional shoot. My other friend's daughter modeled the costume
for me.Thanks!!! |
My husband helped me deliver the costume to the artist's studio on the 1st of May. Phew, glad to be done with that! My husband figures if I was realistic about my time, I probably earned 5p an hour!! Funny. I saw the bird in the Barbican on the open evening, and again the other day. It is still holding up. It is a pity there wasn't more to explain why the costumes are in a computer game show, especially as most of them don't actually look like the actual character. In the end, they didn't hire actors to wear the costumes, as it was too expensive. But, I think they are going to get someone to wear them in order to make a record before they are moved to Edinburgh in September 2002. |